Dockerize Python App
Create Jenkins Pipeline for automating Docker image creation and push docker image into Docker Hub

I am a technology professional with 3 years of experience in Cloud Computing, DevOps, Automation, Kubernetes, and Python. I write about scalable cloud architectures and automation best practices and actively contribute to multiple open-source projects.
Context
We will learn how to automate Docker builds using Jenkins. We will use a Python-based application. I have already created a repo with source code + Dockerfile. We will be creating a Declarative Jenkins pipeline for automating builds.
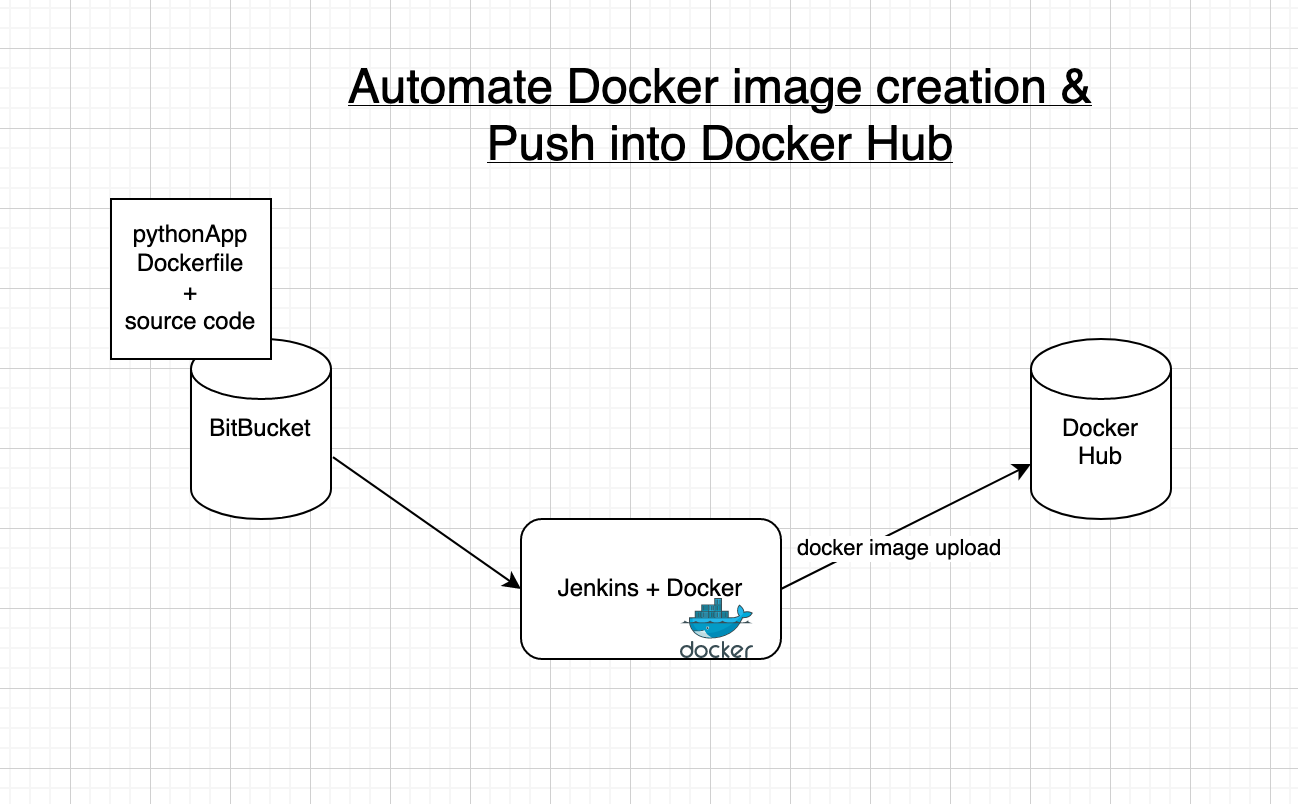
- Automating builds.
- Automating Docker image creation.
- Automating Docker image upload.
- Automating Docker container provisioning.
Pre-requisites:
1. Jenkins is up and running
2. Docker installed on Jenkins instance and configured.
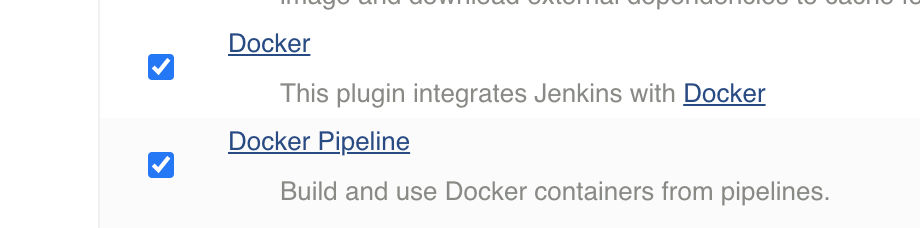
3. Docker plug-in installed in Jenkins
4. user account setup in https://cloud.docker.com
5. port 8096 is opened up in firewall rules.
Let's Start with Jenkins
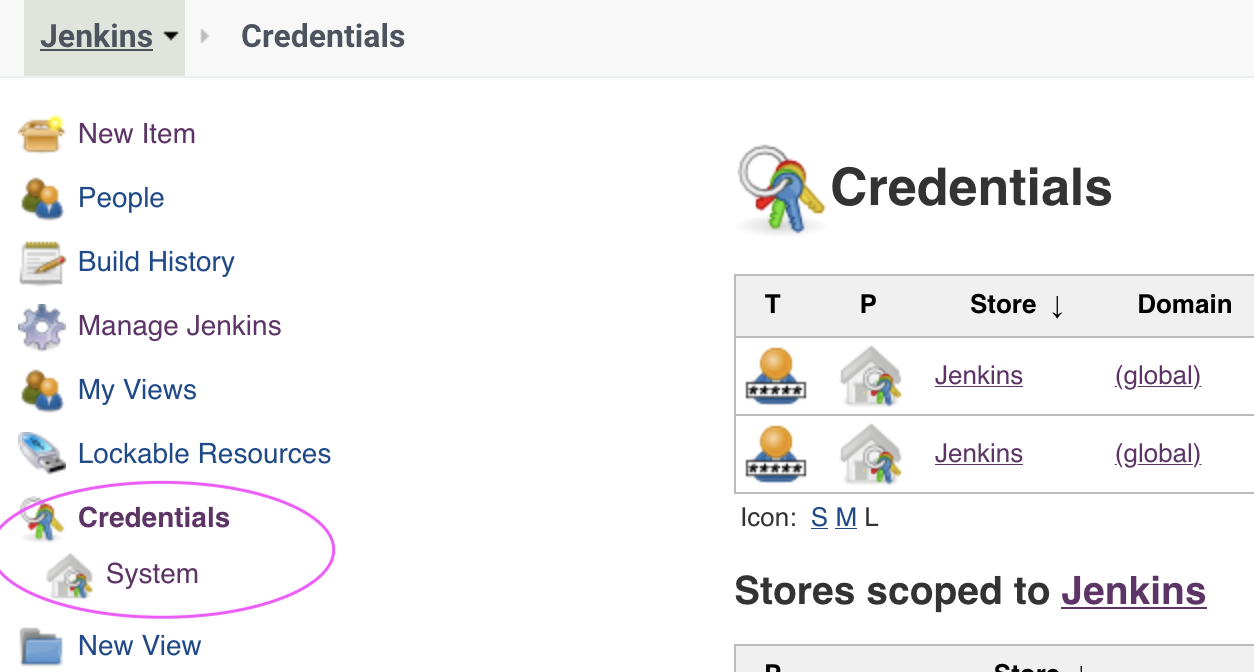
Step #1 - Create Credentials for Docker Hub
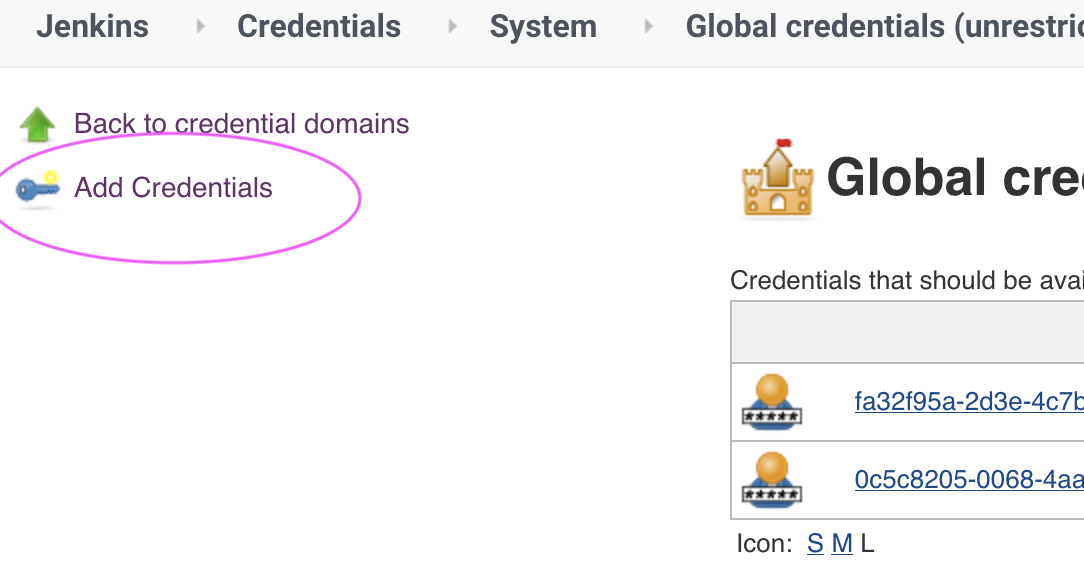
Go to your Jenkins where you have installed Docker as well. Go to credentials -->
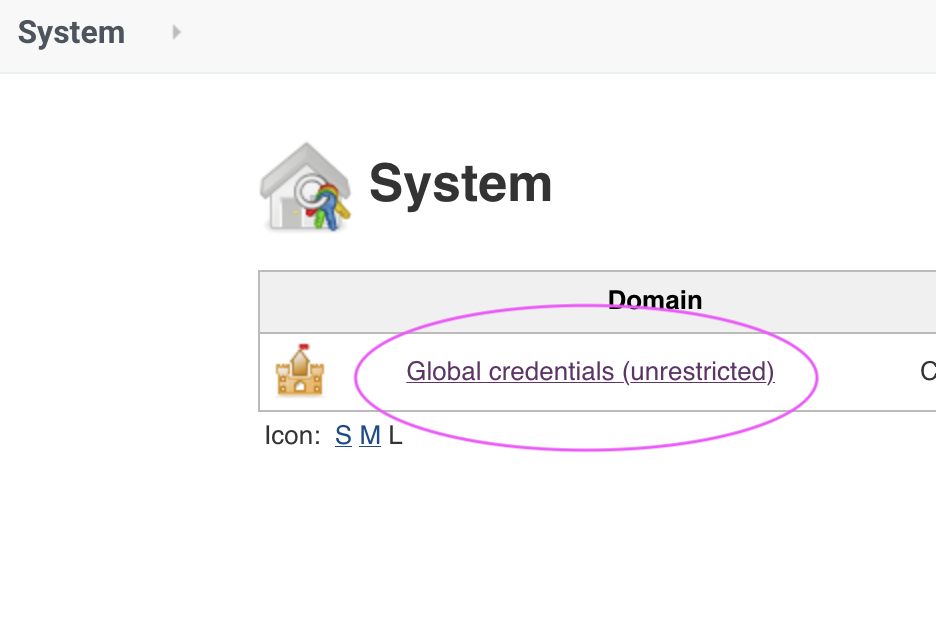
Click on Global credentials
Click on Add Credentials
Now Create an entry for Docker Hub credentials

Make sure you take note of the ID as circled below:

Step # 2 - Create a Jenkins pipeline

Step # 3 - Write the pipeline code
Make sure you change the Emoji highlighted values below:
Your docker user id should be updated.
your registry credentials ID from Jenkins from step # 1 should be copied.
pipeline {
    agent any
    environment {
        //once you sign up for Docker hub, use that user_id here
        registry = "your_docker_user_id✍️/mypythonapp"
        //- update your credentials ID after creating credentials for connecting to Docker Hub
        registryCredential = 'fa32f95a-2d3e-4c7b-8f34-11bcc0191d70✍️'
                              //use your own dockercredential ID
    }

    stages {
        stage('Cloning Git') {
            steps {
                checkout([$class: 'GitSCM', branches: [[name: '*/master']], doGenerateSubmoduleConfigurations: false, extensions: [], submoduleCfg: [], userRemoteConfigs: [[credentialsId: '', url: 'https://bitbucket.org/biswajitmoahapatra/mypythonrepo']]])
            }
        }

    // Building Docker images
    stage('Building image') {
      steps{
        script {
          dockerImage = docker.build registry
        }
      }
    }

     // Uploading Docker images into Docker Hub
    stage('Upload Image') {
     steps{
         script {
            docker.withRegistry( '', registryCredential ) {
            dockerImage.push()
            }
        }
      }
    }

     // Stopping Docker containers for cleaner Docker run
     stage('docker stop container') {
         steps {
            sh 'docker ps -f name=mypythonappContainer -q | xargs --no-run-if-empty docker container stop'
            sh 'docker container ls -a -fname=mypythonappContainer -q | xargs -r docker container rm'
         }
       }


    // Running Docker container, make sure port 8096 is opened in Your VM
    stage('Docker Run') {
     steps{
         script {
            dockerImage.run("-p 8096:5000 --rm --name mypythonappContainer")
         }
      }
    }
  }
}
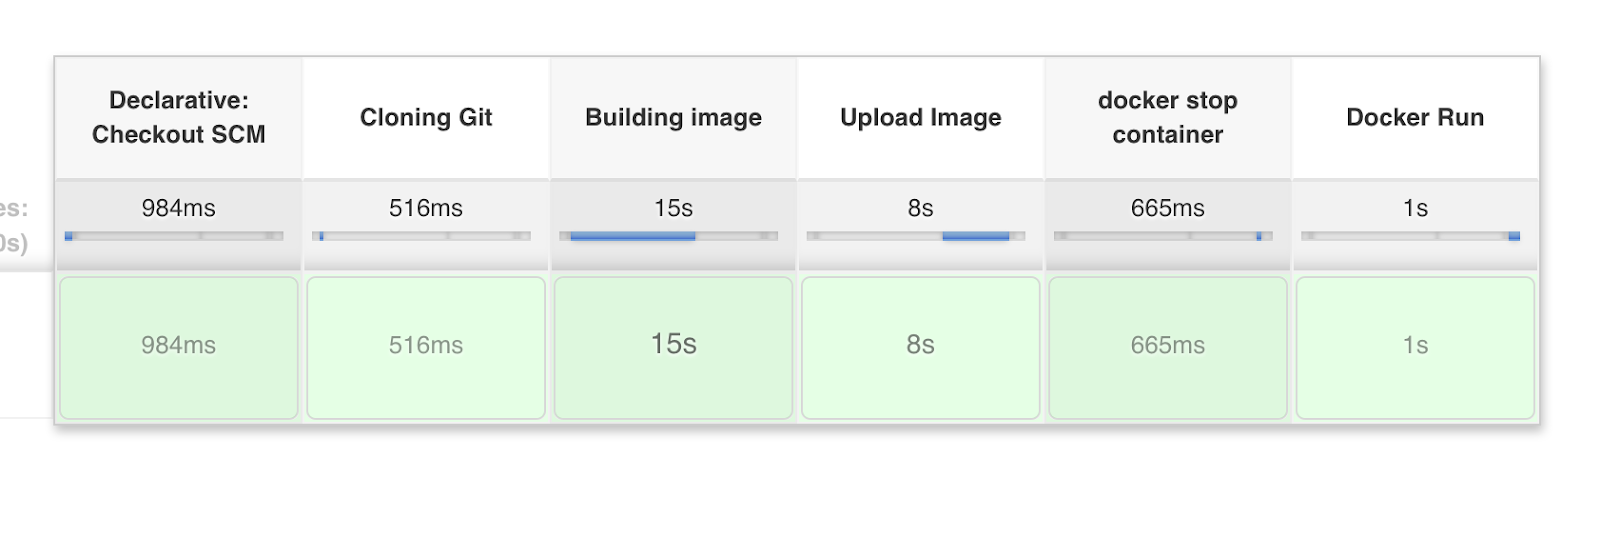
Step # 4 - Click on Build - Build the pipeline
Once you create the pipeline and change values per your Docker user id and credentials ID, click on Save and Apply. Then Click Build Option.
Step # 5 - Access Python App
Once the build is successful, go to the browser and enter http://public_dns_name:8096
You should see the page like below:

Conclusion
Congratulations you successfully completed your first project.
Your Pipelining Project is done🤟🤟...
Enjoy!!
If you liked this blog post, consider liking and commenting on it and Sharing it with your friends.
~Biswajit Mohapatra


